Color-Code a Script by Retention Risk Before You Film
Use a three-color script audit to catch weak opening promises, delayed payoffs, and vague lines before filming your next YouTube video upload.

11 min readUpdated
In this guide
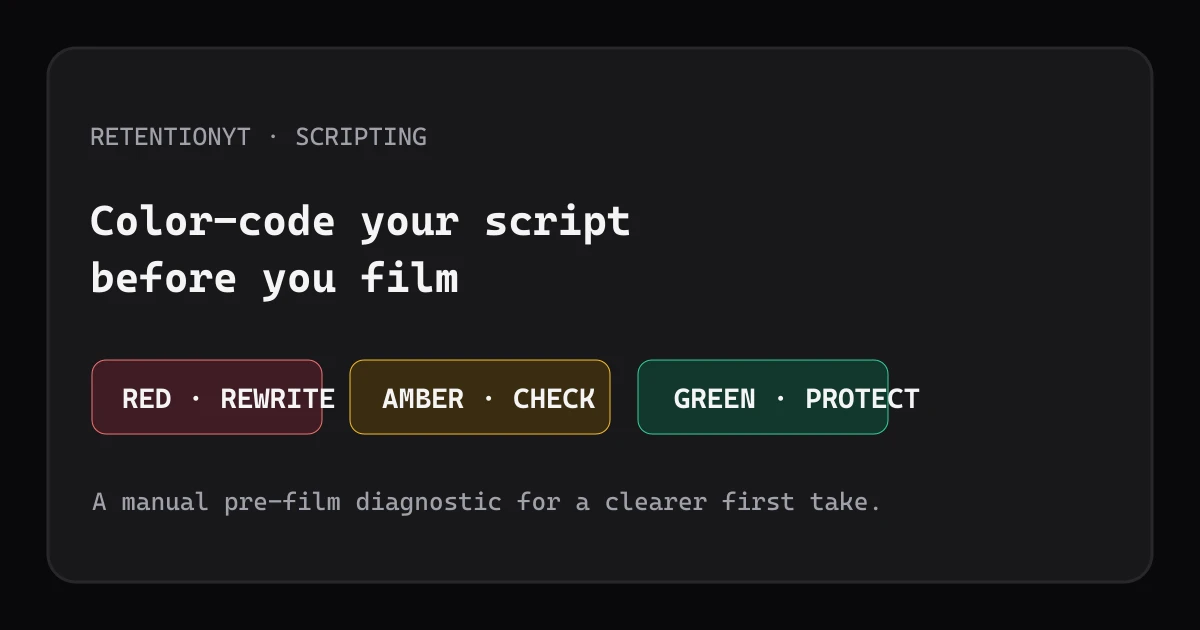
Before you film, paint the script. Mark the first 20 words, first payoff, and each setup stretch: red means risk, amber means inspect, and green means the line gives viewers a reason to continue. Short audit exposes problems before footage.
What Color-Code a Script by Retention Risk Before You Film actually is (and what it is not)
Color-coding is a manual diagnostic. Read the draft with the title promise visible, then highlight each line by its job. The colors do not predict a future graph; they show whether each line gives a viewer a reason to stay.
Red marks a promise or clarity problem. Use it when the opening does not answer the title's implied question in the first 20 words, when jargon appears without a same-sentence definition, when the script says “in this video” instead of delivering value, or when a long biography arrives before proof. Red is not a mood; it is a rewrite queue.
Amber marks a stretch that may be fine but needs a checkpoint. The practical trigger is roughly 90 seconds without a mini-payoff: a result, example, reversal, reveal, or question that earns the next section. This is a rule of thumb, not a published YouTube benchmark.
Green marks forward motion. Highlight a specific number, a named object, a visible proof point, a useful contrast, or a rehook that opens a legitimate next question. Green does not mean “keep everything.” It means “this line has a job worth protecting while you tighten the surrounding copy.”

Why this shows up in YouTube Studio
The locked Source 1 page is currently titled “Understand your YouTube video reach.” It says the Reach tab provides a snapshot of metrics such as click-through rate, watch time, views, and more, and it gives the path to select a video, open Analytics, and choose Reach. It does not support the brief's requested audience-retention-curve wording, so this article does not attribute a retention curve or key-moments claim to that URL. See the YouTube Help Reach page for the page we actually opened in August 2026.
Source 2 places the Content tab at channel level and gives the path: sign in, select Analytics, then Content. It describes reports about how viewers find content and interact with it. Read the YouTube content-performance guide for the current wording and its August 24, 2026 notice.

Worked example 1: the failure
Imagine a draft titled “I Tested a $12 Mic in a Noisy Room.” The opening reads: “Hey everyone, welcome back. In this video, I’m going to talk about a microphone that I recently bought, and before we get into it, let me tell you a little about my channel.” The line sounds harmless when you wrote it. Under the highlighter, it is a red stack.
The first sentence is a greeting, not the test by the title. “In this video” announces the format, while the biography delays the object. The viewer is asked to wait.
Now suppose the next section explains microphone polar patterns for 90 seconds, but the script does not play a sample, show the room, or reveal a setup choice. That stretch is amber. The definition may be useful, but it needs a mini-payoff: a short audio comparison, a labeled diagram, or a decision that changes the test.
The numbers below are illustrative planning numbers, not YouTube data. They show how to record the problem in a table without pretending that a paper audit measured audience behavior.
| Draft moment | Line or section | Color | Why it is marked |
|---|---|---|---|
| 0:00 | Greeting and channel bio | Red | The title promise is delayed |
| 0:18 | “Today we will discuss…” | Red | Vague announcement replaces proof |
| 0:30–2:00 | Polar-pattern explanation | Amber | Illustrative 90-second stretch without a mini-payoff |
| 2:10 | Named mic and room setup | Green | A concrete object gives the test a handle |

Worked example 2: the fix
The revised opening can be direct: “At $12, this mic either saves a noisy-room voiceover or wastes the whole shoot. I’ll play the untreated room first, switch to the mic at eight seconds, and show the one placement choice that changed the result.” The title promise is now audible, the object is named, and the viewer knows what proof is coming.
The next section can define polar pattern in the same sentence it first appears: “Polar pattern means the directions a microphone hears best, so we’ll point the least-sensitive side toward the fan.” That sentence earns its technical term by attaching it to a visible action. You can show the fan, the mic, and the direction instead of asking the viewer to hold an abstract definition.
At the first checkpoint, play two seconds of untreated room sound and two seconds beside the fan. Say what changed and what did not. The payoff only needs to prove that the next test has a reason.
A useful rehook at the middle is specific: “The front placement sounds cleaner, but the rear rejection is the part that decides whether this $12 mic survives the second take.” That line names a new question without promising a mystery you never answer. Mark it green, then verify that the next section really pays it off.
| Draft moment | Revised line or action | Color | Planning purpose |
|---|---|---|---|
| 0:00 | State the $12 test and noisy-room consequence | Green | Confirms the title promise immediately |
| 0:08 | Play untreated room, then mic sample | Green | Gives concrete proof early |
| 0:18 | Define polar pattern beside the fan | Green | Makes jargon actionable |
| 1:00 | Explain one placement choice | Amber to green | Keep only the detail that changes the result |
| 2:30 | Rehook around rear rejection | Green | Opens a legitimate next question |

How to check this in YouTube Studio (step by step)
Start before Studio. Open the finished draft and write the title promise in one sentence at the top. If you cannot state the promise, stop and fix the title or the draft before you color anything. Your first eight seconds should make the promise concrete rather than asking the viewer to wait for context.
Next, make three passes. In the red pass, mark the opening, undefined terms, “in this video” announcements, bios, and lines that repeat the title without adding proof. In the amber pass, circle every setup stretch and note the last point where the viewer received a result, example, contrast, or decision. In the green pass, underline numbers, named objects, proof, rehooks, and visual actions.
Rewrite the opening reds first. Replace a general statement with a consequence, test, comparison, or visible object. Define jargon in the same sentence. If you keep a biography, move it after the first proof and make it earn its seconds by explaining why your test is credible.
Then repair amber stretches. Add a checkpoint roughly every 60–90 seconds as a rule of thumb, but choose the checkpoint by the material, not by a magic timer. A result, sound sample, before-and-after, screen recording, or decision can be enough. If no checkpoint fits, cut the section or move its useful line earlier.
Now read the script aloud with timecodes. You are checking whether the spoken version matches the page. A paragraph that looks short can run long once you pause for a visual. A green line that sounds vague is not green anymore; rewrite it until the object, number, proof, or next question is unmistakable.
After publishing, use the relevant Analytics area as feedback. Source 2 documents the channel-level Content path as YouTube Studio, Analytics, then Content; the page also describes reports for views, impressions and watch time, and how viewers found content. Do not pretend the Studio report validates every pre-film color. Compare your notes with the finished upload and write one change for the next script.
If you want a faster review loop after the manual pass, use the related tool once. For the planning stage, compare your draft with how to script a YouTube video and the YouTube script outline template. The manual method still works without signing up; the product is an optional way to shorten review, not a prerequisite.
Where RetentionYT fits
Manual highlighting works alone. RetentionYT can shorten the review loop after you have a real draft. RetentionYT is the optional product path; do not use it as a reason to postpone the rewrite.

The trap
The trap is coloring by emotion. A sentence can feel energetic and still fail the title promise. A calm explanation can be green if it names the object, clarifies the decision, or delivers proof. Judge the line by its job, not by how proud you feel when you read it.
The trap
The move
Color is a queue for decisions, not a prediction of what every viewer will do.
What to do in the next upload
Use the checklist on the next finished draft, not on a vague idea. Keep the title and thumbnail promise visible while you mark. The goal is to make the first read cleaner, the middle more deliberate, and the post-publish review more honest.
- Write the title promise in one sentence above the draft.
- Mark the first 20 words red, amber, or green.
- Circle every undefined technical term.
- Strike “in this video” lines that delay the first useful proof.
- Move a named object, number, or result toward the opening.
- Add a mini-payoff to each long setup stretch as a rule of thumb.
- Mark one legitimate rehook for the middle of the draft.
- Read the revised script aloud with timecodes.
- After publishing, compare the filmed result with your notes in Studio.
- Write one change for the next upload and ignore the temptation to chase a perfect score.
Use the pass on every upload, then let published evidence teach you where the rules need adjustment.
Frequently asked questions
- How do I audit a script before filming?
- Print or duplicate the draft, then mark each line by risk: red for a missed opening promise, an undefined term, or a long biography; amber for a long stretch without a payoff; green for a specific number, named object, proof, or rehook. Read the colors in sequence, rewrite the first red cluster, and film only after every long neutral stretch has a job.
- What lines are high retention risk?
- High-risk lines are vague introductions, “in this video” announcements, unexplained jargon, a 40-second bio, and setup that delays the promised proof. Treat any stretch that runs about 90 seconds without a mini-payoff as amber. These are pre-film warnings, not a forecast of exactly where viewers will leave.
- Can I do this on paper?
- Yes. Use a printed script and three highlighters, or write R, A, and G in the margin. The method is deliberately manual: you are checking promise, clarity, payoff timing, and forward motion before recording. Paper is enough; a spreadsheet can help you count seconds, but it is not required.
- Is this the same as RetentionYT?
- No. The color code is a manual pre-film diagnostic that works without an account. RetentionYT is a separate product you can use to shorten the review loop and organize script feedback. Neither method replaces the audience-retention evidence you can inspect after a video is published.
- What do I recut vs rewrite?
- Recut when the idea is sound but the order, pause, visual, or repeated sentence slows delivery. Rewrite when the title promise is missing, a term is unclear, the proof arrives too late, or the section has no job. Mark the exact line first; do not solve a structural problem with faster editing alone.
- How do I apply “Color-Code a Script by Retention Risk Before You Film” on my next upload?
- Paste the finished draft into a document, write the title promise at the top, and mark every line red, amber, or green. Rewrite the opening reds, add a payoff to amber stretches, and preserve greens as proof or rehooks. Then read the revised script aloud with timecodes before you set up the camera.
- Where in YouTube Studio do I check “Color-Code a Script by Retention Risk Before You Film”?
- The color code happens before filming, so there is no special Studio report for it. After publishing, open YouTube Studio and use the Analytics areas available for the video or channel to compare the result with your pre-film notes. Treat the graph as feedback on the filmed version, not as proof that the paper forecast was exact.
- What is the most common mistake with “Color-Code a Script by Retention Risk Before You Film”?
- The common mistake is treating green as decoration instead of a job. A green line should deliver a specific number, named object, proof, or rehook; a page full of green does not automatically make a strong script. The second mistake is presenting illustrative time examples as universal YouTube benchmarks.
Give your next script a second look
Paste a script into RetentionYT for suggestions on your hook, pacing, and structure. Choose the edits that serve your video, then check audience behavior in YouTube Analytics after publishing.
Get retention tips in your inbox
Occasional, practical emails on hooks, pacing, and retention. No spam.
Related posts
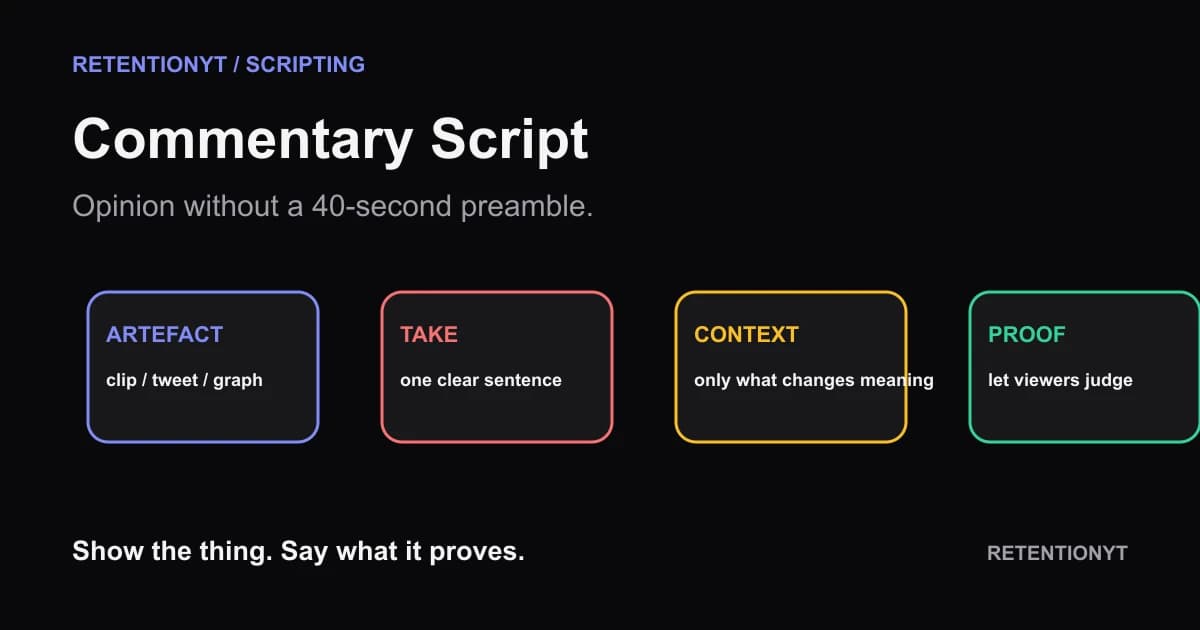
Commentary Script: Opinion Without a 40-Second Preamble
Build a YouTube commentary video script start around the clip, tweet, or graph—not your biography. Put the artefact and one-sentence take on screen, then earn the context.
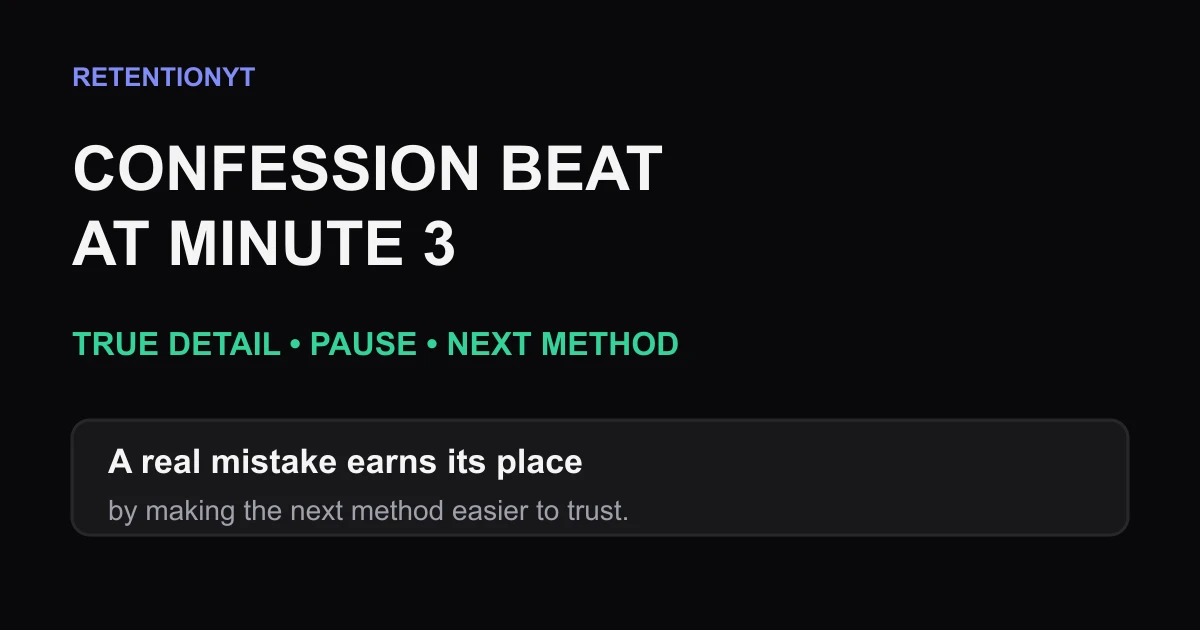
Confession Beat at Minute 3
Use a true 15-second confession around minute 3 to reset a lecture, rebuild trust, and lead into the next tutorial method without turning your story into an ad.
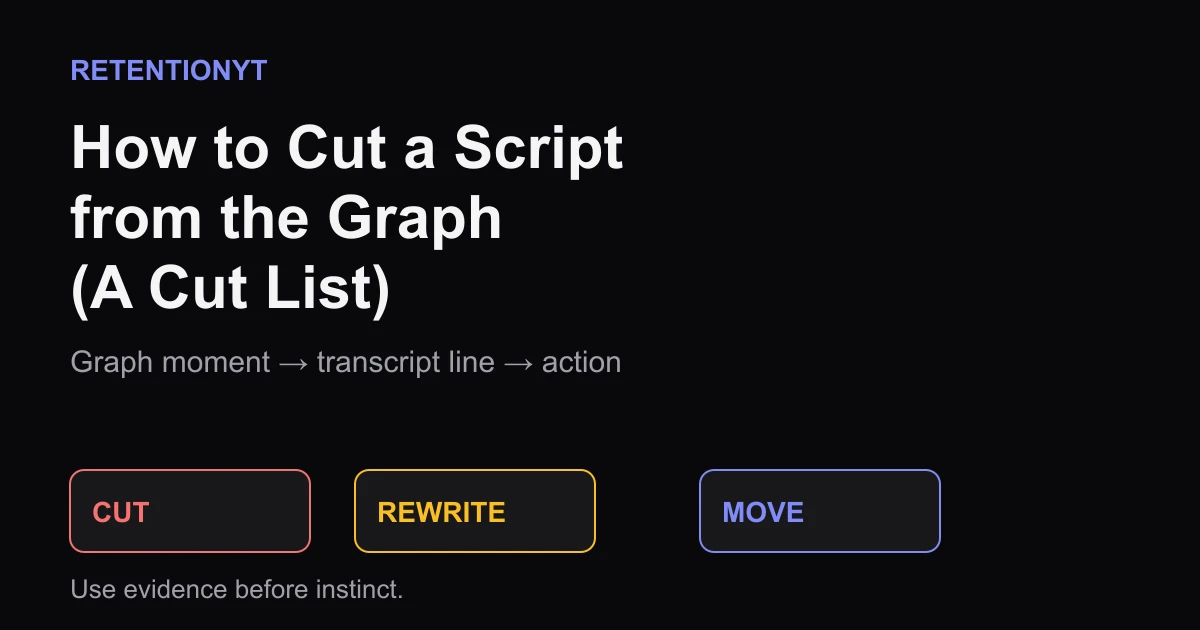
How to Cut a Script from the Graph (A Cut List)
Edit your YouTube script using the retention graph: export the dip, map it to the exact line, then mark CUT, REWRITE, or MOVE without guessing.