Screen-Recording Voiceover: WPM and Pause Marks
Learn how to script a screen recording voiceover at a slower 120–140 WPM, add pause marks for clicks, and guide attention without narrating every cursor move.

10 min readUpdated
In this guide
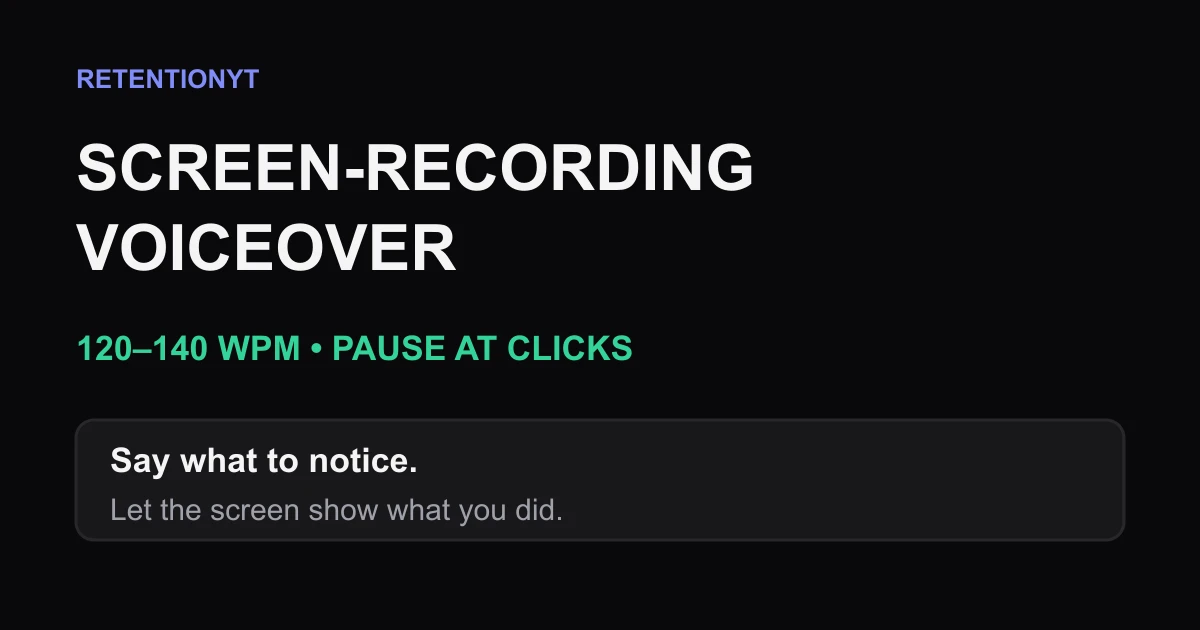
Screen-recording voiceover works best when the narration leaves room for the interface: use a practical 120–140 words per minute rule of thumb, mark pauses at meaningful clicks, and explain what the viewer should notice rather than announcing every cursor move.
What Screen-Recording Voiceover actually is (and what it is not)
Screen-Recording Voiceover is a narration method built around two timelines: the spoken explanation and the changing screen. Your job is to keep those timelines legible together. The voice explains why the step matters; the screen shows what changed.
This is not a transcript of your mouse. A stronger line names the decision: “Watch the retention percentage at 0:08; this is a production cue, not a universal benchmark.”
Use 120–140 WPM as a practical rule of thumb for screen-recording narration. Treat it as a starting setting, then test one screen state by listening without looking at the video.
A pause mark tells you to stop talking while the viewer processes a visual change. Use [PAUSE 0.8s] after the line that creates the reason to look, not after a random mouse movement.
| Screen-recording voiceover does | Screen-recording voiceover does not |
|---|---|
| Explains the decision behind a visible action | Names every cursor movement |
| Uses pause marks for visual processing | Fills every quiet second with speech |
| Gives the viewer a reason to look | Makes the interface carry unexplained meaning |
| Adjusts pace to screen density | Treats one WPM number as a guarantee |
Adjust each editorial starting point to the interface and one viewer decision.
A script, screen recorder, and editor are enough. RetentionYT is optional for pacing review.
Where RetentionYT fits
Manual method works alone. Product shortens the loop. RetentionYT is optional.

Why this shows up in YouTube Studio
YouTube Studio is where your uploaded video meets viewer evidence. Use the reports that actually appear for your format, device, and account, and connect each visible screen change with the moment you later inspect.
The locked SOURCE 2 page says the Content tab gives an overview of how viewers find content, what they watch, and how they interact with it. It also describes a Videos section with a Key moments for audience retention report and says that typical retention can compare your ten latest videos of similar length. Read the current wording on YouTube Help, August 2026 before you publish a claim about a report.
For a selected video, the other locked Help URL currently describes the Reach tab rather than an audience-retention page. Its documented computer path is YouTube Studio, Content, the selected video, Analytics, then Reach, and it defines reach-oriented metrics such as thumbnail impressions, views, average view duration, and watch time. See YouTube Help, August 2026 for that exact page. The URL and its live title are recorded as a source conflict in the handoff because the brief labels it Audience retention.
Do not call Screen-Recording Voiceover a Studio report. Tell the viewer which report to open, what screen moment to compare, and what question the data can help them ask.
Worked example 1: the failure
Imagine an illustrative 42-second software-tutorial setup. These editorial timing cues are not YouTube data. The draft runs as one breath: greeting, cursor tour, click, menu explanation, and conclusion.
At 0:00, the voice gives a greeting and a cursor tour without stating the outcome.
At 0:14, the narrator says, “Now I click Analytics, now I click Content, and now I click the video.” The words arrive with the clicks, leaving no silence to find the control and spending audio on motion the viewer can already see. At 0:28, a dense menu opens, but “choose this one” gives no readable anchor.
| Illustrative failure beat | Illustrative timing | What the viewer must do | Why the draft breaks |
|---|---|---|---|
| Greeting and dashboard tour | 0:00–0:14 | Wait for the outcome | The promise is delayed |
| Click narration | 0:14–0:28 | Track words and controls | No processing pause |
| Dense menu explanation | 0:28–0:42 | Read labels and listen | “This one” has no anchor |
The failure is not that the creator used a script; it is that the script treats the interface as scenery and the cursor as the subject. Use the hierarchy outcome, location, decision. Do not fix the mismatch by speaking faster: cut the greeting, name the reason to look, and pause after the menu opens.
Worked example 2: the fix
Keep the same illustrative task and rewrite around the viewer's decision: “At 0:08, watch the retention percentage; I am opening the report that lets you compare this video's attention with similar uploads.” The viewer has a target before the cursor moves.
At 0:08, move to the relevant menu and say, “Open Analytics, then choose the report that contains the retention view.” The spoken line explains the job; the screen supplies the coordinates.
After the click that changes the view, insert [PAUSE 1.2s]. Leave the pointer still or use a restrained highlight. The pause lets the viewer match words to the changed screen. In a crowded menu, name a readable label such as “Choose Content in the top menu,” then wait.
At the result, ask what changed when the screen became busy.
Use five row fields—time, outcome, spoken line, screen state, and pause—in your YouTube script outline template workflow.

Treat the curve as a planning surface, not a scorecard.
How to check this in YouTube Studio (step by step)
Open YouTube Studio and choose the report exposed for your uploaded format. If the interface differs, record the difference instead of inventing a path.
- Write the beat before you open the report. Note the timestamp, spoken line, screen change, and intended viewer decision. If your note only says “cursor moves,” rewrite it.
- Find the video and its analytics view. Use the report path available for your video. SOURCE 2 describes channel-level Analytics and Content; SOURCE 1 describes a selected video's Reach route.
- Locate the attention view that is actually present. SOURCE 2 describes Key moments for audience retention under Videos and a typical-retention comparison for recent videos of similar length. If you do not see that view, mark the item unavailable; do not treat a missing report as a negative result.
- Place a marker at the screen change. Use the video timestamp, not the moment you remember saying the line. A cursor can move before the meaningful change, and the voice can finish after it. The marker should represent the viewer's new task.
- Ask one narrow question. Did the viewer receive the promised result before the interface became dense? Did the pause give them time to find the label? Did the crop remove context? One question produces a cleaner rewrite than a general instruction to improve retention.
- Compare like with like carefully. If a report offers a typical line or a similar-length comparison, use it as context. Do not convert an illustrative curve or a personal rule of thumb into a platform benchmark. The source wording governs what you can claim.
- Rewrite the next take. Shorten the spoken action description, name the visible decision, or add a pause. Keep the screen change the same if you want to learn whether the script change made a difference.
Write down the date, report path, timestamp, and script change you will test. You are building a feedback loop, not searching for a magic line.

The trap
The trap is using silence as a problem to eliminate. New screen-recording creators often read a complete paragraph over a menu open because silence feels unfinished in the edit. The viewer experiences the opposite: the voice keeps moving while the interface asks them to stop and look.
A second trap is treating WPM as the whole method; a slow voice can still name the cursor instead of the decision. A third is over-cropping and removing the context that tells the viewer where they are.
The trap
The move
A fourth trap is measuring the wrong thing. An illustrative dip at 0:30 is a prompt to inspect the edit, not proof that one word caused a reaction.
Keep pause marks visible until the cut is approved; they are part of the instruction, not optional performance flourishes.

What to do in the next upload
Use the next upload as a test. Choose one screen-recorded segment, define the viewer's decision, and create rows an editor can follow without guessing.
- Write the viewer outcome in one sentence before recording.
- Set a 120–140 WPM rule-of-thumb target, then read aloud once.
- Mark every click that changes what the viewer must inspect.
- Replace cursor narration with the reason the control matters.
- Put [PAUSE 0.8s] or a tailored pause token after meaningful changes.
- Keep labels readable at phone width before you lock the crop.
- Record the screen state and spoken line as separate script fields.
- Note the exact upload date and timestamps you will review later.
- Open the analytics report that actually appears for your video.
- Compare one beat, make one rewrite, and carry the lesson forward.
Use this row: “At [time], notice [result]. Say [purpose line]. Show [screen state]. [PAUSE]. Confirm [next decision].” Repeat it for meaningful states, not each mouse movement. Remove rows with no distinct viewer decision.
The manual checklist is enough. For a broader scripting pass, see how to script a YouTube video, while keeping the screen-specific rules: pace to the interface, pause at clicks, and explain the decision.

Keep the method stable, change one variable, and save the note.
The cursor is visible; your job is to make the meaning visible too.
Frequently asked questions
- What WPM for voiceover tutorials?
- For a screen-recording tutorial, use 120–140 words per minute as a practical rule of thumb, then slow down at a decision or click. Read the script aloud with the intended cursor movement. If the viewer must inspect a menu, leave silence instead of filling the space with narration. Your final pace should make the interface easy to follow, not merely maximize spoken words.
- Should I script a screen recording?
- Yes. Script the promise, the order of actions, the words that explain why a step matters, and the pauses where the viewer needs to look. You do not need to write every cursor movement. A light script gives you a reliable path while leaving room to react when the software looks different on your screen.
- How do I mark pauses?
- Use a visible token such as [PAUSE 1.0s] after a click, menu open, or visual change. Put the token on its own line so it survives editing. Choose the length by the viewer's task: a quick highlight may need less silence, while a multi-option menu needs more. Record the pause; do not rely on an editor to guess it later.
- Why do software tutorials lose people at minute 2?
- A software tutorial can lose people when the explanation keeps moving but the screen stops providing a clear reason to watch. Around minute 2, check whether each segment has a visible result, a specific next question, and a pace that matches the interface. These are editorial checks, not a universal YouTube benchmark, so confirm the pattern in your own analytics.
- Do I show the full UI or crop?
- Show the smallest useful area that lets the viewer identify the control and understand the result. Keep the full UI when location or context prevents confusion; crop when surrounding panels compete with the step. Test the crop at phone width. If a label becomes unreadable, widen the frame or add a clear visual highlight instead of relying on narration.
- How do I apply “Screen-Recording Voiceover” on my next upload?
- Before recording, write the viewer outcome, a short spoken line for each meaningful screen state, and a pause token for every click that changes what the viewer must inspect. Rehearse once with the cursor. After publishing, compare the moments where attention changes with the lines and pauses you planned, then revise the next script rather than chasing a generic benchmark.
- Where in YouTube Studio do I check “Screen-Recording Voiceover”?
- Screen-Recording Voiceover is a scripting method, not a named YouTube Studio report. For channel-level content performance, YouTube's documented path is YouTube Studio, Analytics, then Content. For a selected video's reach reports, the locked Help page documents Content, Analytics, then Reach. Use the available audience-retention or key-moments views that appear for your video and account.
- What is the most common mistake with “Screen-Recording Voiceover”?
- The common mistake is narrating the cursor instead of explaining the decision the viewer should make. “Now I click Settings” adds little when the click is visible. Replace it with the reason to look: identify the metric, compare the two values, or notice the setting that changes the result. Then pause long enough for the screen to carry its part of the explanation.
Give your next script a second look
Paste a script into RetentionYT for suggestions on your hook, pacing, and structure. Choose the edits that serve your video, then check audience behavior in YouTube Analytics after publishing.
Get retention tips in your inbox
Occasional, practical emails on hooks, pacing, and retention. No spam.
Related posts
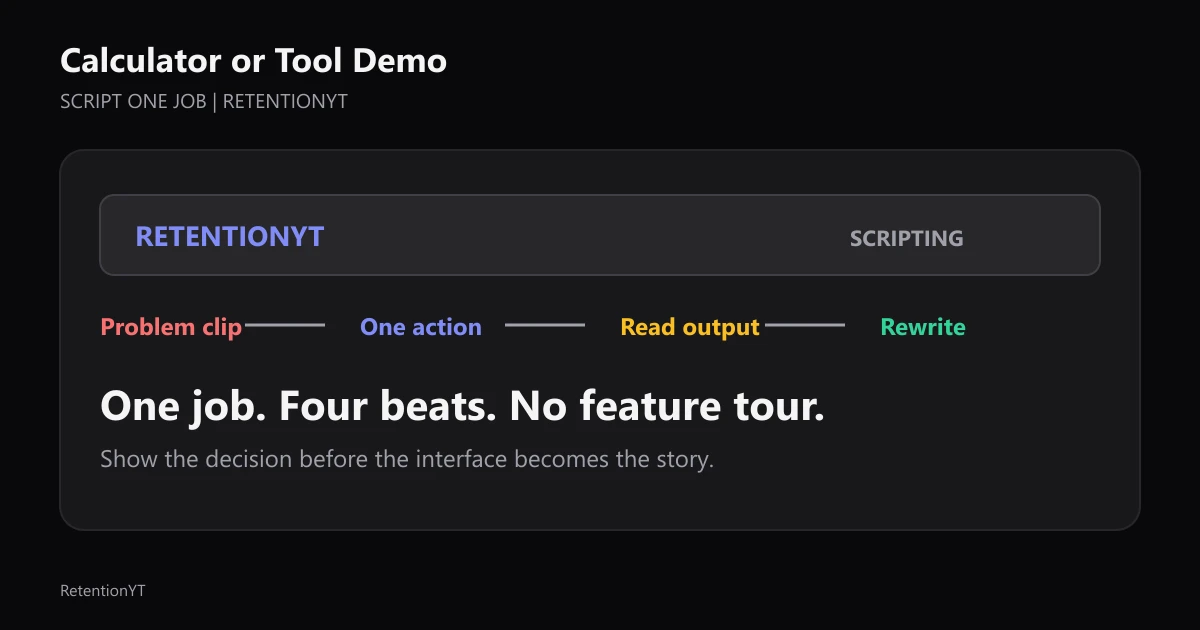
How to Script a Calculator or Tool Demo Without a Mid-Video Slump
Learn how to script a calculator or tool demo around one job, timestamp each click, read the output aloud, and rewrite before a feature tour drains your retention.
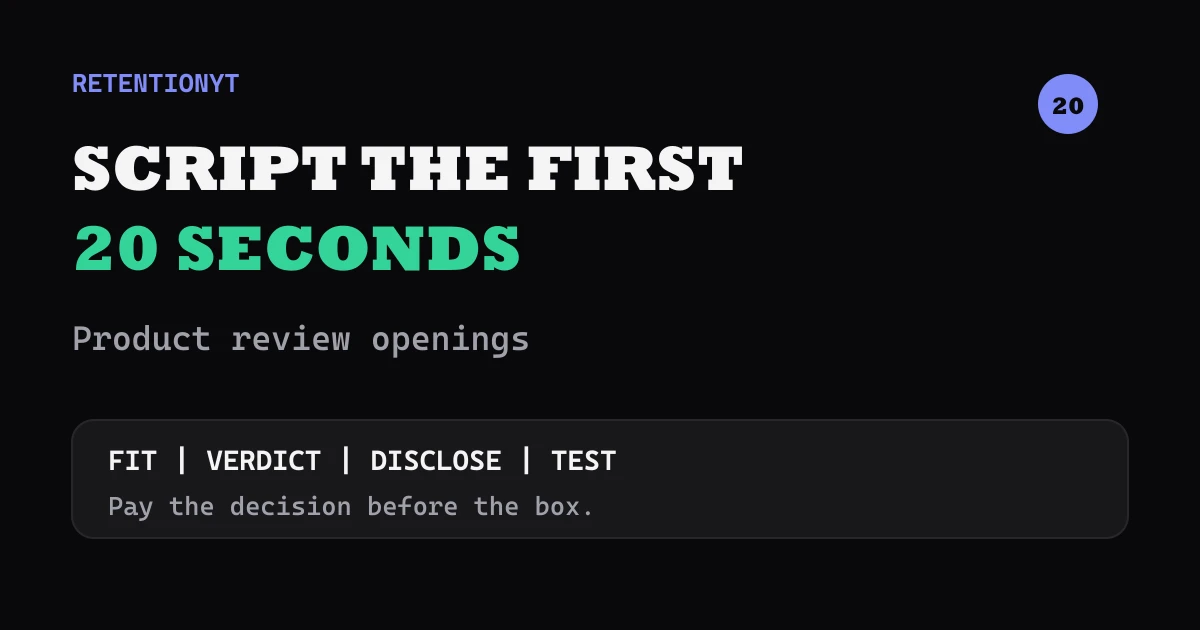
How to Script a Product Review's First 20 Seconds
Learn how to script a YouTube product review intro that pays off the thumbnail in 20 seconds with a verdict teaser, audience fit, disclosure, and a testable before-and-after.
Shorts to Long-Form Bridge Script
Turn a YouTube Short into a long video script without padding: keep the loop, add the mechanism, prove it with two examples, and finish with a useful next step.