How to Script a Product Review's First 20 Seconds
Learn how to script a YouTube product review intro that pays off the thumbnail in 20 seconds with a verdict teaser, audience fit, disclosure, and a testable before-and-after.

11 min readUpdated
In this guide
A product-review first 20 seconds should answer one question: who is this for, and what should they expect? Give a qualified verdict teaser or a useful surprise, disclose the relationship, then show the test. “Do not buy this if you need quiet audio” earns more attention than “Today we unbox.” The box can follow the decision.

What How to Script a Product Review's First 20 Seconds actually is (and what it is not)
This method is a compact opening script for a reviewer who wants to help a viewer make a product decision. It is not an unboxing sequence, a specification dump, or a promise to reveal the verdict only after every accessory has appeared on camera. The job is to connect the title and thumbnail to a person, a trade-off, and a piece of evidence.
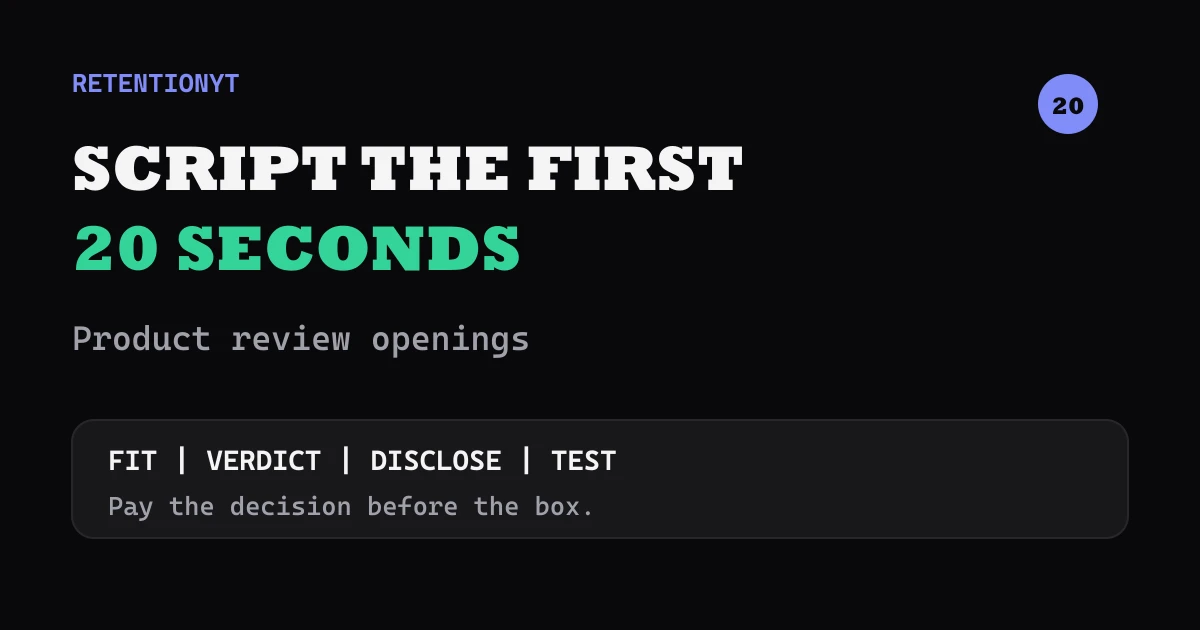
Use five beats. First, name the audience or use case. Second, state a qualified verdict teaser: buy, skip, wait, or watch for one trade-off. Third, disclose whether the product was sent, sponsored, or otherwise connected to the brand. Fourth, name the first test. Fifth, promise a before-and-after or other comparison that the viewer can understand without trusting your adjectives.
| Opening element | What it does | What it is not |
|---|---|---|
| Audience fit | Identifies the viewer and decision | A generic greeting |
| Verdict teaser | Pays part of the title promise early | The full review conclusion |
| Disclosure | Makes the relationship clear before opinion | A buried footnote |
| First test | Turns the claim into an observable action | A list of specifications |
| Before-after proof | Gives the viewer a comparison to track | A made-up benchmark |
The numbers above describe the method, not a published YouTube benchmark. The five-beat sequence can be shortened or expanded to fit your delivery, but the decision should arrive before the opening gets crowded with logistics. If you need a different structure, keep the jobs intact: identify, qualify, disclose, test, compare.
Where RetentionYT fits
Manual method works alone. Product shortens the loop. Use RetentionYT when you want help reviewing alternate openings, but you can write and test this method with a timer, a transcript, and your own Studio reports.
Why this shows up in YouTube Studio
YouTube Studio does not give you a magic “product review first 20 seconds” score. It gives you reports that help you inspect how viewers find and interact with content, and the labels available to you depend on the report and format. That distinction keeps your script decisions honest: the method creates a testable opening, while Studio supplies the post-publish evidence you can inspect.
SOURCE 2 says the Content tab in YouTube Analytics gives an overview of how viewers find content, what they watch, and how they interact with it; it also says that Content is available at the channel level. The same page describes a Videos “Key moments for audience retention” report and says typical retention can be used to compare the 10 latest videos of similar length. Read those labels in your account rather than copying a path from a different format. SOURCE 2 (YouTube Help, August 2026).
For a selected video, the locked Reach page currently documents a route through YouTube Studio: Content, the selected video's Analytics, then Reach. It describes reports about how viewers found the video and how thumbnail impressions led to views and watch time. It does not currently present itself as the brief's “Audience retention” page, so treat retention curves in this article as illustrative and use the report names that actually appear in your account. SOURCE 1 (YouTube Help, August 2026).

Worked example 1: the failure
Imagine an illustrative review of a compact desk microphone. The product and creator are fictional for this example; no channel, brand, or performance data is being claimed. The title promises a decision for small-desk creators, but the opening spends its first moments on the shipping carton.
The script says: “Welcome back. Today we’re opening the new EchoDesk Mini. Here’s the box, here’s the seal, and here are the cables. The company sent this over, so thanks to them. I’ll set it up, test it, and let you know if it’s worth it.” The disclosure is present, but it arrives after packaging and before the viewer knows whether the product fits their use case.
The problem is not that the creator touched a box. The first action simply does not answer the title’s decision, and the disclosure sounds like a thank-you instead of a plain statement of the relationship.
| Illustrative timestamp | Spoken beat | Viewer still lacks |
|---|---|---|
| 0:00–0:04 | Greeting and welcome | The product decision |
| 0:04–0:08 | Carton and seal | Audience fit |
| 0:08–0:13 | Cable inventory | A reason to keep watching |
| 0:13–0:17 | Sender disclosure | The first test |
| 0:17–0:20 | General promise | Concrete evidence |
These times are illustrative, not measured YouTube data. By 20 seconds, the viewer still does not know what the test is meant to decide.

Cut actions that do not serve the promise. Keep the box only when its packaging, included parts, or setup constraint matters to the buyer.
Worked example 2: the fix
Use the same fictional microphone and the same buyer. A revised opening could say: “If your desk is beside a noisy window, I would not buy the EchoDesk Mini before hearing this test. The company sent it for review, but it did not pay for my verdict. In the next few seconds I’ll record the same sentence with my usual microphone and this one, then we’ll compare the room noise.”
This version identifies a real constraint, qualifies the warning, discloses the relationship, and names a comparison. It earns the next minute without pretending to prove the entire review.

Keep the comparison fair to the question you raised. Use the same spoken sentence for room-noise tests, or name exactly what you count for setup-time tests. Do not let one demonstration stand in for every use case.
After the comparison, unbox accessories or explain specifications because the viewer now knows why those details matter.
How to check this in YouTube Studio (step by step)
First, save the exact script and the take you recorded. Note the date, relationship, audience constraint, verdict teaser, disclosure, and first test.
Second, publish with a title and thumbnail that make the same decision legible. A buyer-verdict thumbnail paired with packaging-only audio creates a mismatch to fix next time.
Third, open YouTube Studio and select the Analytics reports available to your channel. SOURCE 2 documents the channel-level path Analytics, then Content, and says that SEE MORE or ADVANCED MODE can expose an expanded report for specific data, comparisons, and exports. For an individual video, SOURCE 1 documents Content, the selected video, Analytics, then Reach. The exact report availability can change, so do not invent a missing menu item.
Fourth, inspect the opening-related view or retention report your account provides. On the Videos section described by SOURCE 2, “Key moments for audience retention” shows how different moments held viewers’ attention, and typical retention can compare recent videos of similar length. Use the report’s own labels and note whether the first test begins before the first meaningful drop in your observed graph.
Fifth, compare uploads only when the format, length, audience, title promise, date, and opening structure are clear. If products or traffic sources differ, call the result directional, not causal.
Sixth, turn the observation into one change. Move the disclosure earlier if viewers leave before it; name the test sooner if setup runs long; preserve the opening if the body is where the stall occurs.
For a second opinion on the wording, use the related tool once the manual draft is complete. For the broader structure, compare your outline with How to Script a YouTube Video and the YouTube script outline template. Keep the manual method first: the tool can shorten review time, but it cannot supply a product fact, a disclosure, or a test you have not decided to run.
The trap
The trap is treating the first 20 seconds as a miniature shopping channel: tear, reveal, rotate, list, thank, then eventually explain. That pattern can look active while leaving the viewer’s decision unanswered. It also creates a disclosure problem when the relationship is mentioned as a sponsor thank-you after several product impressions have already shaped the viewer’s expectation.
The trap
The move

Do not cram five claims into one breath. Choose one audience constraint, one qualified verdict teaser, one disclosure, and one proof step; earn the rest after the comparison.
Avoid a negative verdict that the test cannot support. If you have not run the room-noise test, say you are checking it rather than presenting a result.
What to do in the next upload
Before you press record, write the opening in one paragraph and read it at a normal pace. Mark the first second where the audience fit is clear, the first second where the disclosure is complete, and the first second where the proof begins. If any mark is late, cut words before adding energy.
- Write the buyer constraint in one sentence.
- Add a qualified verdict teaser or a specific surprise.
- Disclose a free product, sponsorship, or other relationship plainly.
- Name the first test before listing package contents.
- Prepare a before-and-after comparison with the same question on both sides.
- Remove greetings, logos, and logistics that do not serve the decision.
- Record one alternate opening with a different first sentence.
- Save the final wording and the delivered take with the upload date.
- In Studio, record which report and date range you inspected.
- Label illustrative numbers as illustrative in notes and captions.
- Change one opening variable on the next review, not the whole system.
Use this five-line draft as a starting point: “If [viewer] needs [constraint], watch this before buying. My early read is [qualified verdict]. [Disclosure]. I’m testing [specific condition] against [comparison]. Then I’ll show where this recommendation breaks.” Replace every bracket with something you can actually demonstrate. If the product was not supplied, do not imply that it was; if you have not run the comparison, do not speak as though the result already exists.
The box is footage; the decision is the opening.
A strong review opening does not hide the verdict or skip the evidence. It tells the right viewer what the product must do, makes the relationship visible, and starts the test quickly enough that the rest of the review has a job. Write that version for the next upload, then let your own dated Studio observations decide what to keep.
Frequently asked questions
- How should a review video start?
- Start with the viewer's decision, not the package. Name who the product is for, give the early verdict or the most useful surprise, and disclose any free or sponsored relationship before the test begins. Then show the test that will prove the verdict. The opening should make the thumbnail's promise concrete within the first 20 seconds.
- Should I give the verdict first?
- Usually, give a qualified verdict early rather than hiding the answer behind an unboxing. Say who should buy, who should skip, or what trade-off matters, then explain how you tested it. An early verdict is not the whole review; it is a clear reason to keep watching for evidence, exceptions, and the final recommendation.
- When do I disclose a free product?
- Disclose the relationship before your opinion could influence the viewer's decision. If the brand sent the product, say so in the opening, on screen, and anywhere else your platform or local rules require. Keep the sentence plain: “The company sent this for review, but it did not pay for my verdict.” Do not bury it after the unboxing.
- Do unboxings hurt retention now?
- An unboxing is not automatically a problem, but an opening made only of packaging logistics delays the answer implied by the title and thumbnail. Treat the unboxing as evidence or texture after the hook. If the box itself is the subject, say why it matters; otherwise, lead with the buyer decision and use the reveal to support it.
- What is a who-it's-for hook?
- A who-it's-for hook identifies the viewer whose decision the review will help. It can name a use case, constraint, or trade-off: “If you need a quiet microphone for a small desk, this is the part to watch.” Pair that audience fit with a qualified verdict or surprise so the right viewer knows why the test matters.
- How do I apply “How to Script a Product Review's First 20 Seconds” on my next upload?
- Before recording, write four beats: the audience fit, the verdict teaser, the disclosure, and the first proof step. Read the beats aloud against a 20-second timer, cut greetings and packaging logistics, then record two openings. After publishing, compare the opening behavior in your available Studio reports and keep notes for the next review.
- Where in YouTube Studio do I check “How to Script a Product Review's First 20 Seconds”?
- Use the relevant Analytics reports rather than looking for a special product-review panel. You can open Analytics, choose Content at the channel level, and use the available performance reports; for an individual video, the Reach route may be available through Content, Analytics, then Reach. Report availability can vary, so use the labels shown in your account.
- What is the most common mistake with “How to Script a Product Review's First 20 Seconds”?
- The common mistake is spending the opening on actions that do not answer the buyer's question: cutting tape, reading package copy, or listing specifications before saying who should care. Replace that sequence with a decision, a clear disclosure, and one proof step. Keep the unboxing only when it demonstrates a product feature or meaningful constraint.
Give your next script a second look
Paste a script into RetentionYT for suggestions on your hook, pacing, and structure. Choose the edits that serve your video, then check audience behavior in YouTube Analytics after publishing.
Get retention tips in your inbox
Occasional, practical emails on hooks, pacing, and retention. No spam.
Related posts
Shorts to Long-Form Bridge Script
Turn a YouTube Short into a long video script without padding: keep the loop, add the mechanism, prove it with two examples, and finish with a useful next step.
Silence as a Scripted Beat
Use a written 1.2-second silence after a number to reset a talking head, expose the next idea, and give a faceless edit a clear graph hold without inventing a promise.
Speed-Up Sections: When to Tell Viewers to Skip
YouTube tell viewers they can skip this part: give mixed audiences a clean chapter, a one-sentence result, and a safe landing point without hiding a slump.