Cards at Spikes, Not at Dips
Learn when to place YouTube cards retention: use rewind spikes as demand signals, avoid dips, and follow a practical Studio workflow on your next upload.

9 min readUpdated
In this guide
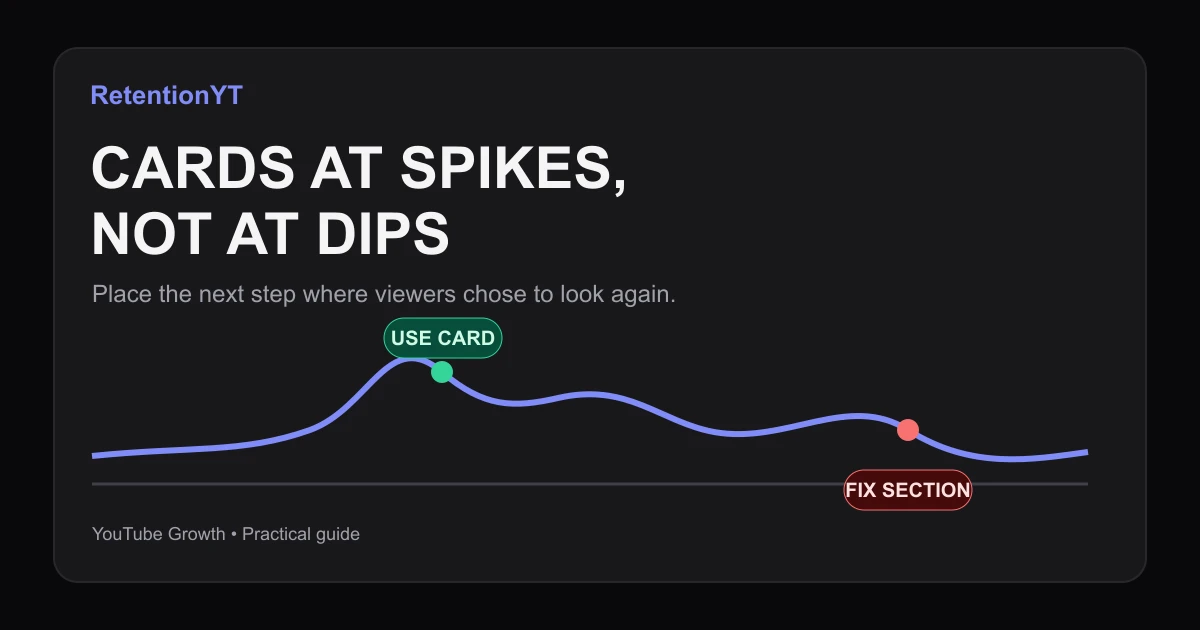
If the graph spikes, viewers rewound — that is a yes. Put a card there. If the graph dips, they were leaving — a card is another door. Do not add a card to save a boring section; fix the section. Rule of thumb: wait for a clear demand signal, then place one relevant next step near that timestamp.

Where RetentionYT fits
Manual method works alone. Product shortens the loop. Use RetentionYT for a second script pass before recording; the placement decision still belongs to the evidence in your upload.
What Cards at Spikes, Not at Dips actually is (and what it is not)
This is a placement rule for creators with a retention graph open. Look for a moment that suggests renewed attention, then offer a related next step there. A “spike” here means an illustrative rewind signal: a local rise that suggests people returned to inspect or replay a beat. It is editorial, not a published YouTube benchmark.
A “dip” means a local fall. It does not tell you exactly why someone left, and it is not proof that a card caused the fall. Use it to inspect the section: was the promise delayed, did the example arrive late, or did the transition hold too many ideas? The card comes after that diagnosis.
YouTube describes info cards as interactive additions that can feature a video, playlist, channel, or link, and says they are designed to complement videos with relevant information.1 Relevance is the constraint. If the destination does not answer the question raised by the section, the card is noise.
| Signal you see | Working interpretation | Your next move |
|---|---|---|
| Illustrative rewind spike | Viewers may want a second look | Offer one relevant next step |
| Illustrative dip | Viewers may be losing the thread | Inspect, rewrite, or cut |
| Flat stretch | No strong placement signal | Keep the explanation clean |
| Spike then dip | Interest arrived, handoff failed | Fix the handoff first |
The four numbers are an operating frame, not a performance benchmark. Only the 5-card limit comes from the locked YouTube Help page; the other numbers are editorial rules of thumb.

Why this shows up in YouTube Studio
The decision has two parts: read the signal, then set the card.
The locked card instructions say: sign in to YouTube Studio, choose Content, open the video, choose Editor, select Info cards, pick a type, set its start time, add optional message and teaser text, and save.1 The source lists video, playlist, channel, and link cards, and notes that cards are unavailable on videos set as made for kids.
Keep reporting views straight. The locked Reach report covers how viewers find a video and includes impressions, click-through rate, views, average view duration, and watch time. Its opened page is not the audience-retention graph named in the brief, so this article uses it only for Reach facts; the method here is editorial.
Compare watch time versus retention and the CTA placement guide for context; a broad metric should not overrule the local beat.
Worked example 1: the failure
Imagine an illustrative 8:00 tutorial. The curve rises at 0:08 and falls at 0:30. The creator adds a broad beginner playlist card at 0:30, answering anxiety rather than viewer intent.
That is the failure: treating a dip as a rescue slot. A card cannot rewrite a slow definition, repeated setup, or late example; it presents another decision while viewers decide whether to stay.
| Illustrative timestamp | What the curve shows | Creator action | Why it fails |
|---|---|---|---|
| 0:08 | Rewind-like rise | Ignores it | A possible demand signal is lost |
| 0:30 | Dip after slow setup | Adds broad playlist card | Choice arrives during friction |
| 0:44 | Recovery after example | Adds nothing | Useful context was missed |
These timestamps are invented for explanation only, not a YouTube benchmark, RetentionYT dataset, or claim about typical viewers. Replace them with your own graph and name the beat beside each timestamp.
Fix the edit first: cut repeated setup, move the example closer to the promise, and clarify the transition. Consider a card only if a later upload shows a relevant demand signal.
Worked example 2: the fix
Now use an illustrative 8:00 tutorial with the same markers. At 0:08, viewers appear to return to a short Studio demonstration. The creator tightens it, then offers a related video about the next diagnostic while that question is active.
Name the viewer’s question, choose a destination that answers it, and start the card close to the demonstrated beat. The locked source names video, playlist, channel, and eligible link cards; if the destination is not ready, leave the card out.
Document the decision: 0:08 — rewind signal — next video: deeper Studio diagnosis — card starts 0:08. This makes the test reproducible without claiming every spike deserves a card.

How to check this in YouTube Studio (step by step)
Start with the video, not the card menu. Write down the timestamp and the on-screen beat first.
1. Open the report you need
Open YouTube Studio and select the upload. Use the view containing your retention trace. The locked source’s Reach workflow is Content, selected video, Analytics, then Reach; that is discovery context, not proof of a dip’s cause.
2. Mark one spike and one dip
Use seconds, not “the middle.” Mark one spike and one dip, then write the beat at each marker.
3. Ask what the viewer wanted
At the spike, ask what someone returned to see. At the dip, ask what made the section hard to follow. If unsure, do not add a card yet.
4. Choose the smallest useful destination
Pick one relevant video, playlist, channel, or eligible link that extends the current question. Use the YouTube retention tool link once when relevant.
5. Set the card at the decision point
Open Content, choose the video, open Editor, select Info cards, choose the type, set the start time, add optional message and teaser text, and save. Keep the first test narrow: one documented card gives a cleaner editorial decision.
6. Review without overclaiming
After the upload has enough data, compare the moment, destination, and surrounding edit. Do not claim a retention increase from one anecdote. Record the change, hypothesis, and next test.

The trap
The trap is confusing a visible event with a complete diagnosis. A rise may deserve inspection, but it is not a universal command to add a card. A fall may be painful to see, but it is not a universal command to give viewers another escape route.
The trap
The move
The bad move optimizes for activity in Studio. The good move optimizes for clarity in the video. If unsure, do less: tighten the section, remove an unrelated card, or wait.
A card is a handoff, not a bandage.

What to do in the next upload
Use the same loop every time: inspect, interpret, choose, place, and review. Tie a timestamp to a viewer question and a destination that answers it.
- Open the upload’s analytics and locate the retention trace.
- Mark one illustrative rewind spike with its exact timestamp.
- Mark one dip only to diagnose the section, not to rescue it.
- Write the viewer question attached to the spike.
- Rewrite or cut the sentence, example, or transition at the dip.
- Choose one relevant video, playlist, channel, or eligible link.
- Set the card near the demand signal in the Editor and save.
- Record the timestamp, destination, hypothesis, and next review date.
- Recheck the section before adding a second card.
The documentation allows up to 5 cards on one video, but a limit is not a target. One relevant card gives a cleaner decision.
For a script opinion, use the RetentionYT register after writing the promise and transition around the candidate moment. The manual method works without signup. Spikes point to demand, dips to friction, and cards connect demand to a useful next step.
References
Frequently asked questions
- When should I put a card on a YouTube video?
- Put a card near a relevant moment when your retention evidence suggests viewers wanted more context, such as an illustrative rewind spike. The card should offer a genuinely useful video, playlist, channel, or eligible link that continues the viewer’s intent. Do not place it automatically at every dip; fix the weak section first.
- Do cards hurt retention?
- A card is an extra choice, so placement and relevance matter. The locked YouTube Help source describes cards as interactive additions that complement a video, but it does not promise a retention lift. Treat any effect as a testable editorial hypothesis: compare the moment, the destination, and the viewer response instead of assuming cards are always helpful or harmful.
- Should I card a dip to save it?
- Usually, no. A dip is a warning that viewers may be losing the thread, so another clickable door can add friction instead of repairing the section. Inspect the sentence, example, or transition at that timestamp, then rewrite or cut the weak beat. Place a card later only when interest returns and the next step is relevant.
- Cards vs end screens?
- Cards belong at selected moments during the video; end screens are a separate end-of-video element and a different planning decision. This article focuses on cards at an engaged moment. Use the end of the video to plan a broader next-watch path, but do not use an end-screen rule as a substitute for diagnosing a mid-video dip.
- How many cards is too many?
- YouTube’s locked cards documentation says you can add up to 5 cards to one video. That is a product limit, not a recommendation to use five. A practical rule of thumb is to add only cards that answer a clear next question, and remove any card that competes with the explanation or points to an unrelated destination.
- How do I apply “Cards at Spikes, Not at Dips” on my next upload?
- After the upload has enough viewer data to inspect, mark moments that look like illustrative rewind spikes and review what viewers were trying to understand. Choose a relevant video or playlist, set the card near that moment, and leave dips for editing. Record the timestamp and destination so you can compare the decision on your next upload.
- Where in YouTube Studio do I check “Cards at Spikes, Not at Dips”?
- For the card itself, open YouTube Studio, choose Content, select the video, open Editor, choose Info cards, set the start time, and save. For the locked YouTube Help page’s Reach workflow, open Content, choose the video, select Analytics, then Reach. Keep your retention interpretation separate from that Reach report.
- What is the most common mistake with “Cards at Spikes, Not at Dips”?
- The common mistake is treating every visible graph change as an instruction to add a card. A dip calls for diagnosis, while a rewind spike is only a useful editorial signal when the proposed destination matches the viewer’s question. Also avoid stuffing cards into a video simply because the product permits up to five.
Give your next script a second look
Paste a script into RetentionYT for suggestions on your hook, pacing, and structure. Choose the edits that serve your video, then check audience behavior in YouTube Analytics after publishing.
Get retention tips in your inbox
Occasional, practical emails on hooks, pacing, and retention. No spam.
Related posts
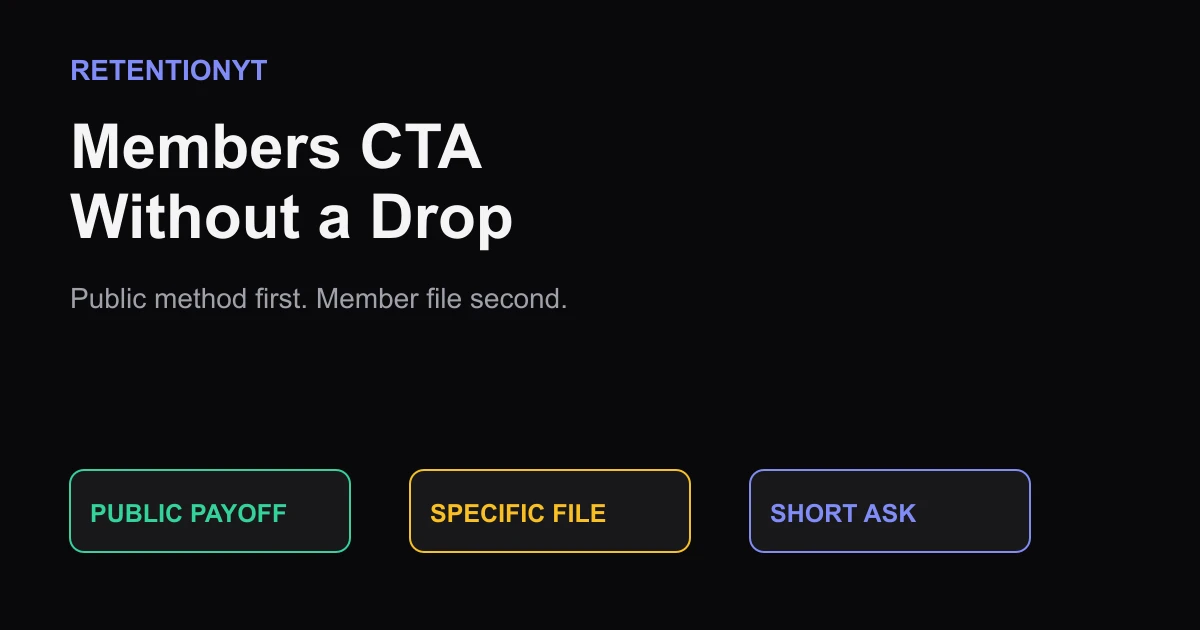
Members CTA Without a Drop
Place your YouTube membership ask after a complete public payoff, then offer a specific member-only file so viewers get the method without feeling held hostage.
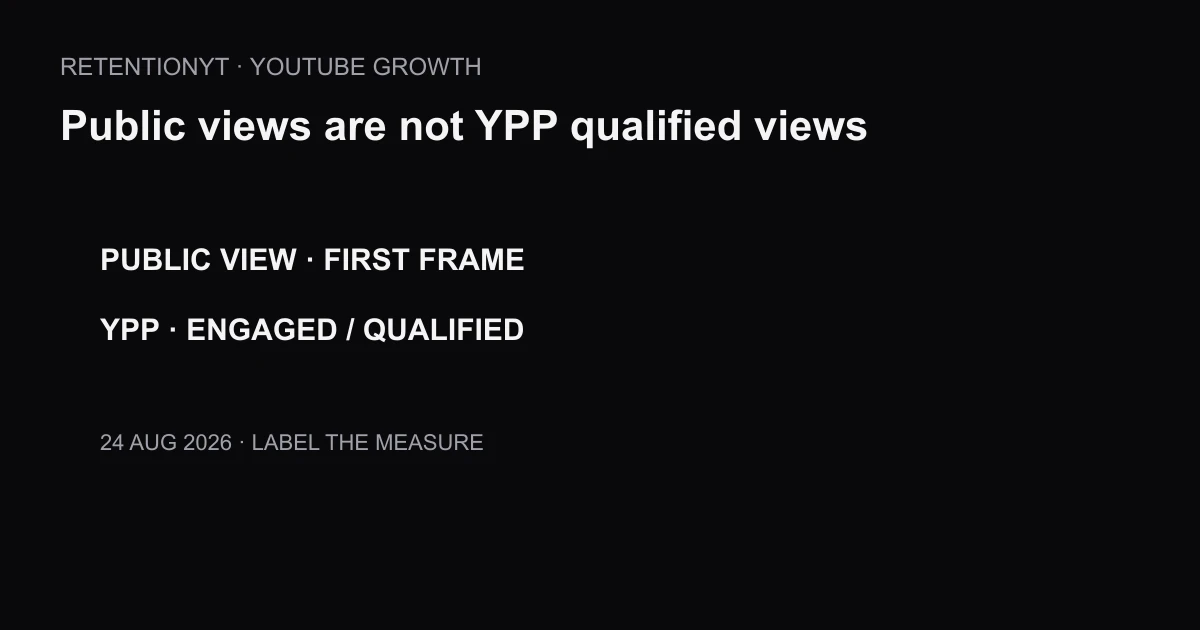
Why YPP Qualified Views Did Not Change With First-Frame Counting
Separate YouTube’s first-frame public counter from qualified views for YPP, so a larger public number does not trigger an avoidable RPM panic.
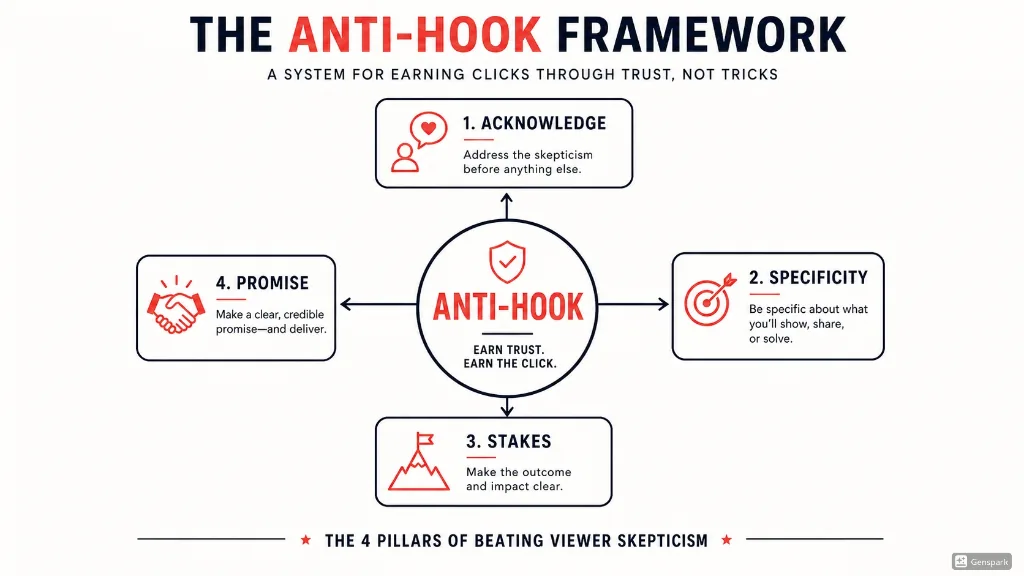
The Anti-Hook: How to Beat Viewer Skepticism in 10 Seconds
Learn the Anti-Hook framework — a proven system for beating YouTube viewer skepticism in the first 10 seconds. Frameworks, scripts, examples, and templates from RetentionYT.